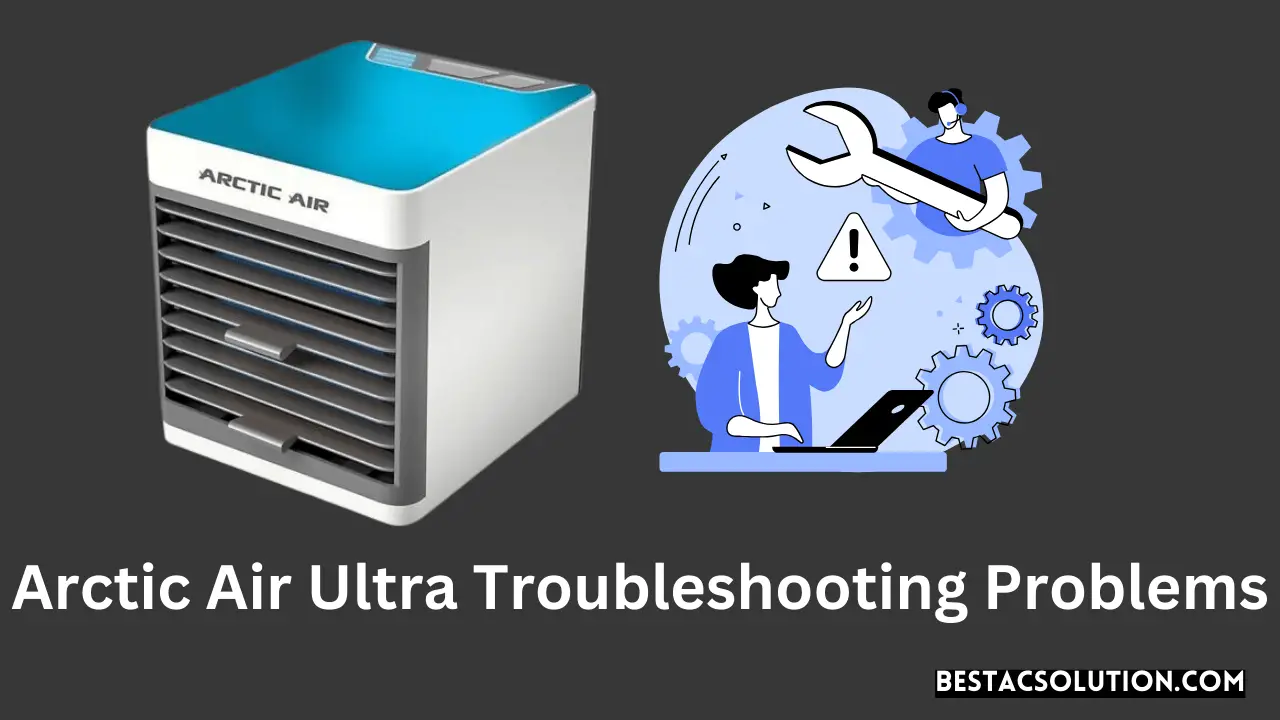
To troubleshoot Arctic Air Ultra problems, first check for secure connections and ensure there is no debris clogging the filter or blocking airflow. Then, make sure everything is properly calibrated according to manufacturer instructions.
Common Issues With Arctic Air Ultra
If you’re experiencing problems with your Arctic Air Ultra, don’t worry, you’re not alone. Like any other appliance, it can encounter a few hiccups along the way. In this section, we’ll explore some common issues that users face with their Arctic Air Ultra and provide troubleshooting tips to help you resolve them quickly and easily.
Arctic Air Ultra not blowing cold air
One of the most common issues with the Arctic Air Ultra is when it fails to blow cold air. This can be frustrating, especially during hot summer months when you rely on the device to keep you cool and comfortable. There are a few potential reasons why this could be happening:
- Clogged air filters: Clogged air filters can restrict the flow of air through the AC system, preventing it from blowing cold air. It is recommended to replace the air filters every three months to ensure proper airflow.
- Temperature settings: Check the temperature settings on the Arctic Air Ultra. Make sure it is set to the desired cooling level. Adjust it if necessary.
- Dirty or damaged evaporator coils: Over time, the evaporator coils can accumulate dirt and debris, hampering their ability to cool the air. Clean the coils using a soft brush or cloth to remove any dirt or debris.
If none of these troubleshooting steps solve the problem, it may be time to contact customer support or consider getting professional assistance.
No power or connection issues
Another common issue that Arctic Air Ultra users may encounter is no power or connection issues. This can prevent the device from turning on or operating properly. Here are a few things to check if you’re facing this problem:
- Power source: Ensure that the Arctic Air Ultra is plugged into a working power outlet. Check the power cord for any damages. If the power source is fine, try plugging the device into a different outlet.
- Water connection: If your Arctic Air Ultra uses water, ensure that the water tank is properly filled and connected. Make sure there are no leaks or blockages in the water supply line.
- Circuit breaker or fuse: Check the circuit breaker or fuse box to see if a breaker has tripped or a fuse has blown. Reset the circuit breaker or replace the blown fuse if necessary.
It is also a good idea to double-check the user manual for any specific troubleshooting steps recommended by the manufacturer.
Filter clogged or dirty
A clogged or dirty filter can significantly impact the performance of your Arctic Air Ultra. This issue can affect both the cooling efficiency and airflow of the device. To fix this problem:
- Remove the filter from the Arctic Air Ultra by following the instructions provided in the user manual.
- Rinse the filter under running water to remove any dust or debris.
- If the filter is excessively dirty or damaged, it may need to be replaced. Refer to the user manual or contact customer support for guidance on obtaining a replacement filter.
Regularly cleaning and maintaining the filter is essential to ensure optimal performance and extend the lifespan of your Arctic Air Ultra.
1. Check Power And Connection
1. Ensure all connections are secure
When troubleshooting problems with your Arctic Air Ultra, the first step is to check the power and connection. Ensuring that all connections are secure is essential for proper functioning.
To begin, carefully inspect the power cord and ensure it is securely plugged into both the Arctic Air Ultra unit and the power source. Check for any visible damage or loose connections along the cord. If there are any issues, replace the cord as necessary.
Next, examine the water connection. Confirm that the water tank is filled to the appropriate level and properly seated within the unit. Ensure that the water lines are tightly connected and that there are no leaks or kinks in the hoses.
2. Confirm that the power source is functioning properly
If you have verified that all connections are secure and the Arctic Air Ultra unit still isn’t working, the next step is to confirm that the power source is functioning properly. Here’s how you can do this:
1. Check the outlet – Plug another device, such as a lamp or phone charger, into the same outlet to ensure it is providing power. If the other device works, the outlet is functioning correctly.
2. Test a different outlet – If the first outlet is not providing power, try plugging the Arctic Air Ultra into a different outlet to see if it powers on. This will help determine if the issue is with the unit or the original outlet.
3. Use a circuit tester – If you have access to a circuit tester, you can use it to check the power supply in the outlet. Follow the instructions provided with the tester to determine if the outlet is receiving power.
4. Check the circuit breaker – If the Arctic Air Ultra is not receiving power, check the circuit breaker or fuse box for any tripped breakers or blown fuses. Reset any tripped breakers or replace blown fuses as necessary.
By following these troubleshooting steps, you can ensure that the power and connection of your Arctic Air Ultra are functioning properly. Remember to always refer to the manufacturer’s instructions for specific troubleshooting information and solutions.
2. Clean Or Replace Air Filter

One common troubleshooting problem with the Arctic Air Ultra is a clogged or dirty air filter. When the air filter becomes blocked, it restricts the airflow and can prevent the unit from cooling effectively. In order to fix this issue, you will need to either clean or replace the air filter.
Remove and clean the air filter
The first step is to remove the air filter from the Arctic Air Ultra unit. The location of the air filter may vary depending on the model, so refer to the manufacturer’s instructions for the specific steps. Once you have located the air filter, carefully remove it from the unit.
Replace the filter if it is clogged or dirty
Inspect the air filter for any signs of dirt or clogging. If the filter appears dirty or clogged, it’s recommended to replace it with a new one. This ensures optimal airflow and cooling performance. Refer to the manufacturer’s instructions for the appropriate replacement filter for your model.
If you are unsure about the condition of the air filter, a quick way to assess its cleanliness is by holding it up to a light source. If you cannot see through the filter or if it appears to be heavily covered in dust and debris, it is time to replace it.
Replacing the air filter is a straightforward process. Simply remove the old filter and insert the new one, following the manufacturer’s instructions. Make sure the filter is securely in place before using the Arctic Air Ultra unit again.
By regularly cleaning or replacing the air filter, you can ensure that your Arctic Air Ultra operates efficiently and provides optimal cooling performance. This simple maintenance step can greatly extend the lifespan of your unit and prevent common problems associated with poor airflow.
3. Verify Calibration
To ensure proper functioning of your Arctic Air Ultra, it is important to verify the calibration. Correct calibration ensures optimal cooling performance and efficient operation. Follow these steps to verify the calibration and make necessary adjustments:
Follow manufacturer instructions for proper calibration
It is essential to carefully read and follow the manufacturer’s instructions for calibrating your Arctic Air Ultra. These instructions provide specific guidelines on how to calibrate the device correctly. Failing to adhere to these instructions may lead to inaccurate temperature readings and inadequate cooling.
Ensure all settings are correctly adjusted
Check and adjust all relevant settings on your Arctic Air Ultra. This includes the temperature setting, fan speed, and any other adjustable features. Ensure that these settings are correctly adjusted according to the manufacturer’s instructions. Incorrect settings can affect the cooling performance and overall functionality of the device.
By carefully verifying the calibration of your Arctic Air Ultra and ensuring all settings are correctly adjusted, you can troubleshoot and resolve any potential problems you may be experiencing. Following these steps will help you maximize the cooling efficiency and performance of your Arctic Air Ultra.
Remember, proper calibration is crucial in maintaining the optimal functioning of your Arctic Air Ultra and providing the cool and comfortable environment you desire.
Additional Tips For Arctic Air Ultra Troubleshooting

If you’re experiencing any issues with your Arctic Air Ultra, troubleshooting the problem can help you identify and resolve the issue quickly. Here are some additional tips to aid in troubleshooting:
Maintain regular cleaning and maintenance of the unit
Regular cleaning and maintenance are crucial for ensuring optimal performance of your Arctic Air Ultra. Dust and debris can accumulate over time, affecting the airflow and cooling capabilities of the unit. To maintain its efficiency, follow these steps:
- Unplug the unit from the power source.
- Remove the water tank and empty any remaining water.
- Using a soft cloth or sponge, clean the exterior and interior of the unit.
- Pay special attention to the air intake vents and the filter. Clean these areas gently to remove any trapped dirt or dust.
- Allow the unit to dry completely before reassembling and using it again.
Check for any obstructions blocking air flow
Blocked airflow can significantly affect the cooling performance of your Arctic Air Ultra. To ensure proper airflow, follow these steps:
- Inspect the air vents and ensure that they are not obstructed by any objects or debris.
- Make sure that the unit is placed on a flat and stable surface.
- Avoid placing the Arctic Air Ultra near curtains, furniture, or any other items that might restrict the air circulation.
- Keep the surrounding area clean and free from dust or dirt.
Consult the user manual for specific troubleshooting guidelines
If you’re still experiencing problems with your Arctic Air Ultra, consulting the user manual is always a good idea. The manual provides specific guidelines and troubleshooting steps recommended by the manufacturer. It can help you identify and address any issues effectively.
Remember, troubleshooting should be done under the guidance of the user manual, and if the problem persists, it’s advisable to contact the manufacturer’s customer support for further assistance.
Frequently Asked Questions

Why Isn T My Arctic Air Working?
To fix your Arctic Air, first check that all connections are secure. Clean any debris or dirt that may be clogging the filter or blocking airflow. Make sure everything is properly calibrated per the manufacturer’s instructions. If these steps don’t solve the issue, consult the Arctic Air Ultra Troubleshooting guide for more solutions.
Why Is My Arctic Air Not Blowing Cold Air?
Check for secure connections and clear any debris or dirt from the filter or airflow. Ensure proper calibration according to manufacturer instructions. Clogged air filters can also restrict airflow, so replace them every three months. For more troubleshooting, visit the Arctic Air Ultra website.
How Do I Reset My Arctic Air?
To reset your Arctic Air, first make sure all connections are secure. Then check for any debris or dirt clogging the filter or blocking airflow. Finally, ensure everything is properly calibrated according to manufacturer instructions.
Why Is My Arctic Air Not Using The Water?
If your Arctic Air is not using water, check the connections to ensure they are secure. If that doesn’t solve the issue, clean the filter to remove any debris or dirt that may be blocking airflow. Make sure to follow the manufacturer’s instructions for calibration.
Conclusion
To troubleshoot common problems with your Arctic Air Ultra, start by ensuring all connections are secure and free of debris. Check for clogged air filters, as they can restrict airflow and prevent cold air from blowing. If necessary, replace the filters every three months.
Additionally, make sure everything is calibrated according to the manufacturer’s instructions. By following these steps, you can address any issues and keep your Arctic Air Ultra running smoothly.


